Contouring has become a popular makeup technique used by many to enhance their features and create a flawless look. It involves using makeup to create shadows and highlights on the face, which can help to define your features and create a more sculpted appearance. However, it can be a bit intimidating for beginners to try. In this article, we will provide you with a step-by-step guide on how to do contouring like a pro. Whether you are a makeup enthusiast or a beginner, our tips and tricks will help you achieve a flawless and natural-looking contour.
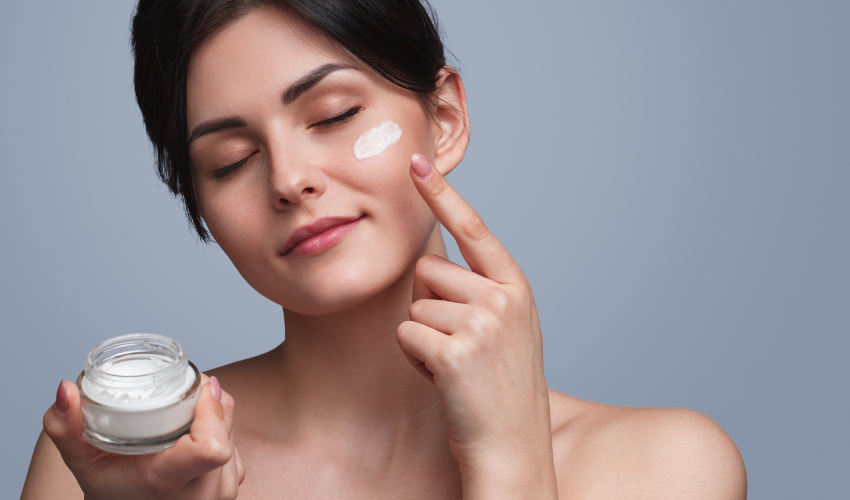
Step 1: Prep your Skin
Before you begin, it’s essential to prep your skin properly. Make sure to cleanse your face and apply moisturizer. This will create a smooth canvas for your makeup application.
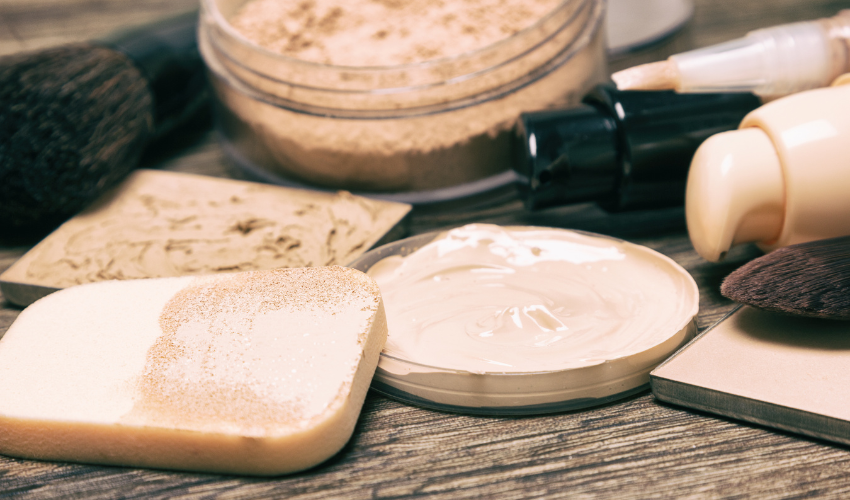
Step 2: Choose the Right Products
Choosing the right products is crucial for achieving the perfect contour. You’ll need a contour powder or cream that is two shades darker than your skin tone and a highlighter that is two shades lighter. It’s best to use products that blend easily and are buildable, so you can control the intensity of your contour.
Step 3: Find Your Face Shape
To achieve the most flattering contour, you’ll need to determine your face shape. There are four main face shapes: round, square, heart, and oval. Each face shape requires a slightly different contouring technique, so it’s essential to identify your face shape before you start contouring.

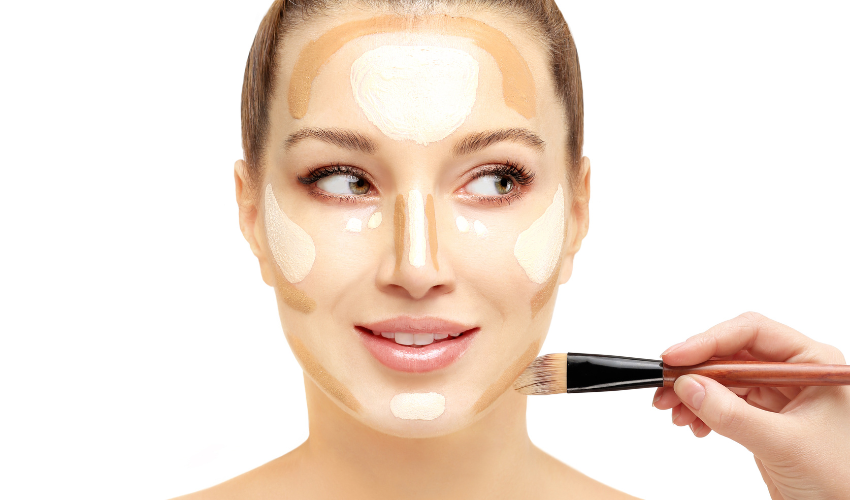
Step 4: Contouring Technique
Once you’ve determined your face shape, it’s time to start contouring. Here’s a step-by-step guide on how to do contouring for each face shape:
Round Face:
- Apply the contour powder or cream in a diagonal line from the middle of your ear towards your mouth. Blend the product well.
- Apply the highlighter on the highest points of your face, such as your cheekbones, bridge of your nose, and forehead.
Square Face:
- Apply the contour powder or cream along your jawline and the corners of your forehead. Blend well.
- Apply the highlighter on the center of your forehead, bridge of your nose, and above your cheekbones.
Heart Face:
- Apply the contour powder or cream along your hairline, temples, and under your cheekbones. Blend well.
- Apply the highlighter on the center of your forehead, bridge of your nose, and above your cheekbones.
Oval Face:
- Apply the contour powder or cream along your hairline and under your cheekbones. Blend well.
- Apply the highlighter on the center of your forehead, bridge of your nose, and above your cheekbones.
Step 5: Blend, Blend, Blend
Once you’ve applied your contour and highlighter, it’s time to blend. Use a makeup sponge or brush to blend the products well, ensuring there are no harsh lines or patches.

Step 6: Finish Your Look
To complete your look, apply your regular foundation and concealer. Set your makeup with a setting powder to ensure it lasts all day. Add a touch of blush to your cheeks, and you’re ready to go!

FAQs:
Can I contour without foundation?
Yes, you can. However, it’s essential to have a smooth and moisturized base for the contour to blend seamlessly into your skin.
What brushes should I use for contouring?
A small, fluffy brush is ideal for contouring, while a fan brush works best for highlighting.
Is contouring suitable for everyday makeup?
It depends on your personal preference. If you prefer a more natural look, you can opt for a subtle contour. However, if you enjoy a more dramatic look, you can go for a more intense contour.
Can I use cream contour instead of powder?
Yes, you can. Cream contour blends seamlessly into the skin, giving a more natural-looking finish.
How can I prevent my contour from looking muddy?
To prevent your contour from looking muddy, make sure to blend well and use a product that matches your skin tone. It’s also essential to use a light hand when applying the product and build up the intensity gradually.
Conclusion
Contouring can seem intimidating at first, but with the right tools and techniques, it can be an easy and fun addition to your makeup routine. By following our step-by-step guide, you’ll be able to achieve a natural-looking contour that enhances your features and gives you a flawless finish. Remember to choose the right products, determine your face shape, blend well, and most importantly, have fun! With these tips and tricks, you’ll be contouring like a pro in no time.